How to Optimize Images for Print: The Most Important Things to Know
Ever wondered why your digital images look blurry or pixelated when printed? It's all about print resolution. We'll go through how to make your images look great on any paper, just like they do on screen.

Imagine spending hours on a digital image for your project. It looks amazing on your computer. But when you print it, it’s different. The edges are blurry, and the colors seem dull. Does this sound like you?
Don’t worry, you’re not alone. Many face the challenge of moving from digital to print. But with the right techniques, you can get stunning results. Let’s learn about making your printed images look their best.
Key Takeaways
- Print resolution is crucial for image quality
- 300 DPI is the standard for professional printing
- TIFF, PNG, and JPEG are common file formats for printing
- Convert images to CMYK for accurate color reproduction
- Use bleed to ensure full coverage on printed materials
- Always proofread and check for errors before printing
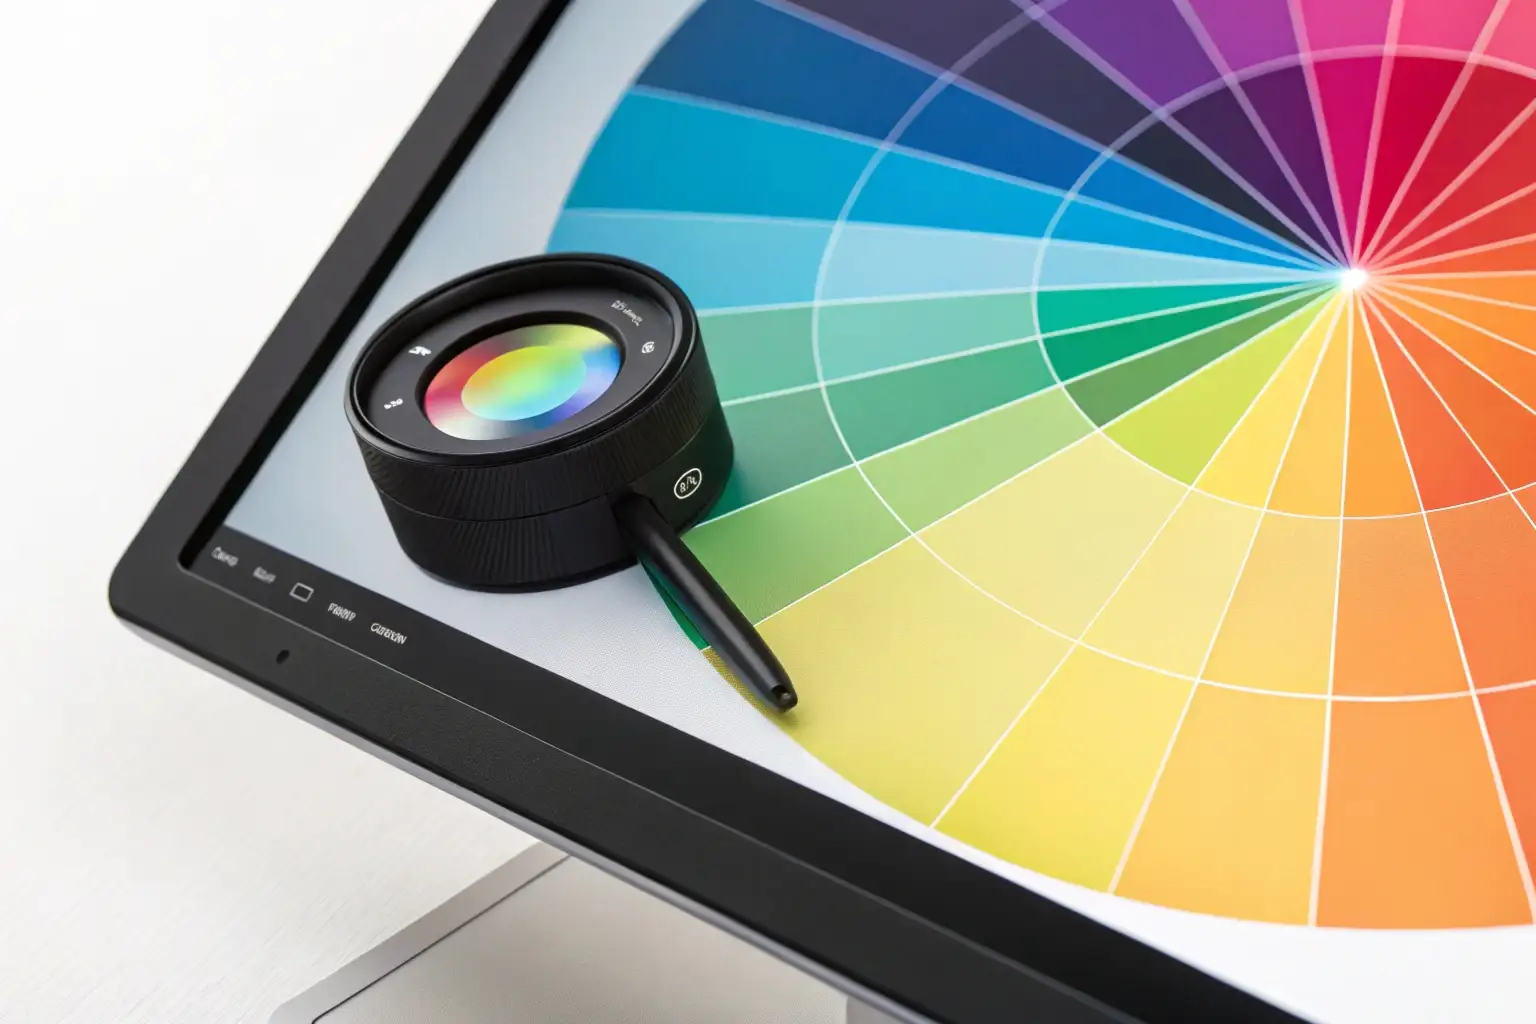
- Calibrate your monitor for color accuracy
Understanding Print Resolution Fundamentals
![]()
Print resolution is key to getting great visual results. It’s about the small details that make your images stand out on paper. Let’s explore the world of pixels, dots, and clarity!
What is Print Resolution and Why It Matters
Print resolution affects how sharp your images look when printed. It’s measured in dots per inch (DPI) or pixels per inch (PPI). For the best prints, aim for 300 DPI or more. This keeps your images clear and avoids a fuzzy look.
DPI vs PPI: Key Differences Explained
DPI and PPI might seem similar, but they’re not the same. DPI is about the ink dots a printer uses per inch. PPI counts the pixels in a digital image. Your computer screen is fine with 72-100 PPI, but prints need 300 PPI or more for the best look.
Impact of Resolution on Print Quality
High resolution leads to stunning prints. It’s about keeping details sharp during printing. Low-res images, often from websites (72-100 DPI), can be a letdown when printed. That’s why optimizing graphics and fine-tuning images are crucial. Not sure if your image is print-ready? Try our free image quality analyzer to check its resolution and identify potential issues.
You can’t just make a low-res image high-res. It’s like trying to stretch a small pizza to make it bigger - you’ll lose the toppings! So, always start with high-quality images for the best results.
- Use vector graphics when possible
- Opt for high-resolution images
- Perform edge detection and texture analysis
- Focus on visual asset optimization
By grasping these basics, you’re ready to create print materials that really impress!
Optimizing Images for Print

Print-ready images need special care. We’ll show you how to get the best results. We’ll cover file formats, color modes, and image specs.
Choosing the Right File Format for Print
For the best prints, choose the most optimal formats, JPEGs and PNGs at 300 DPI.
Avoid GIFs for print. They’re better for the web.
Color Mode Selection: RGB vs CMYK
RGB colors look great on screens but not in prints. For prints, use CMYK mode. This keeps your colors true on paper.
Image Size and Resolution Requirements
Size is important in print. For a 4x6 inch photo, aim for 1200x1800 pixels at 300 DPI. Bigger prints need more pixels. Need help understanding image dimensions? Our beginner’s guide to image ratios will walk you through the basics.
An 8x10 inch print looks sharp at 2400x3000 pixels. Higher resolution means better detail. Getting your prints to look perfect can be tricky - learn more about choosing the right print dimensions to ensure professional results.
Managing File Compression and Quality
Compression balance is key. Too much can ruin quality. Aim for the right balance between file size and clarity.
For JPEGs, don’t go below 50% quality. This keeps your images sharp while keeping file sizes reasonable.
Remember these tips: use dpi modification wisely, consider pixel density alteration for different print sizes, and don’t forget image sharpening. Color correction, hue optimization, and tonal balance are also important. With these steps, your prints will shine!
Professional Print Resolution Standards
Print resolution is key for top-notch prints. We’ll look at the standards for different print types and sizes. Knowing these will help you get the best from your images.
Standard Resolution Requirements by Print Type
Each print project needs a specific resolution. For high-quality prints like brochures and business cards, 300 DPI is the top choice. This ensures clear details without making files too big. Banners and other large prints can often get by with 150 to 300 DPI, thanks to being seen from far away.
Resolution Guidelines for Different Print Sizes
Print size affects the needed resolution. Here’s a quick guide:
- 4 x 6 inches: 1200 x 1800 pixels
- 8 x 10 inches: 2400 x 3000 pixels
- 16 x 20 inches: 4800 x 6000 pixels
For big prints like 24 x 36 inch posters, aim for 7200 x 10800 pixels at 300 DPI. If you’ll be viewing it from a distance, 3600 x 5400 pixels at 150 DPI might be enough. Starting with a high-resolution image gives you room to adjust sizes later.
Commercial Printing Specifications
Commercial printing needs specific file setups. TIFF format is best for keeping pixel info. Color management is key for accurate prints. Don’t forget about bleed and margin settings for professional results.
Minimizing file size is a challenge. Higher resolutions mean more detail but bigger files. Find the right balance between quality and file size. This makes the print process smoother and more efficient.
Image File Preparation Best Practices
Getting your images ready for print can be tricky. We’ll walk you through some key steps to make sure your photos look amazing when printed.
Image Sharpening Techniques
Sharpening your images is crucial for print quality. We apply a light sharpening to all our exports. This helps bring out details without making the image look artificial. For prints larger than 8x10 inches, extra care is needed to maintain quality.
Color Calibration and Profiling
Color accuracy is vital for printing. Most labs use sRGB color space. We always deliver images in sRGB to ensure what you see on screen matches the print. It’s important to calibrate your monitor for accurate color representation.
Bleed and Margin Settings
Aspect ratio is key when preparing images for print. Most cameras have a 2:3 ratio, but print sizes vary. We use an 11:15 ratio to avoid excessive cropping. This helps preserve your image’s composition when printing different sizes.
File Saving and Export Options
For the best print results, we save files as high-quality JPEGs. Our export settings are usually at maximum quality - 12 in Photoshop or 100% in Lightroom. This preserves image quality while keeping file sizes manageable.
- Use CMYK color mode for best print results
- Aim for 250-300 dpi resolution
- Consider vector formats for large prints to avoid pixelation
Remember, proper file preparation is crucial for stunning prints. By following these guidelines, you’ll ensure your photos look their best when printed, whether it’s a small photo or a large art print.
Conclusion
Mastering image optimization for print is key to getting top-notch results. Knowing how to analyze digital images and manipulate pixels is essential. This ensures your printed materials look their best.
Print images need a resolution of 300 DPI or more. Digital screens, on the other hand, use around 72 DPI. So, it’s important to adjust your images for the right medium.
When getting images ready for print, think about color modes. Switch your images from RGB to CMYK for accurate colors. This might lose some color detail, so be very careful.
Choose lossless file formats like TIFF or PSD for the best prints. These formats keep your image quality intact during printing.
Sharpening, color calibration, and texture analysis are crucial for better print quality. Also, make sure to set the right bleed and margin settings. This avoids white edges that you don’t want.
By following these tips and using computer vision, you’ll create stunning printed materials. These will surely impress your audience.
Related Articles

How to Optimize Images for Print: The Most Important Things to Know
Ever wondered why your digital images look blurry or pixelated when printed? It's all about print resolution. We'll go through how to make your images look great on any paper, just like they do on screen.

Aspect Ratios Decoded: What You Need to Know Before Hitting Print
Discover the crucial aspects of aspect ratios for printing. Learn how to avoid common mistakes and ensure your designs look perfect on paper with our comprehensive guide.

Aspect Ratios Explained: Finding the Perfect Fit for Your Images
Discover everything you need to know about Aspect Ratio for your photos and videos. I'll guide you through common formats and help you pick the perfect dimensions.